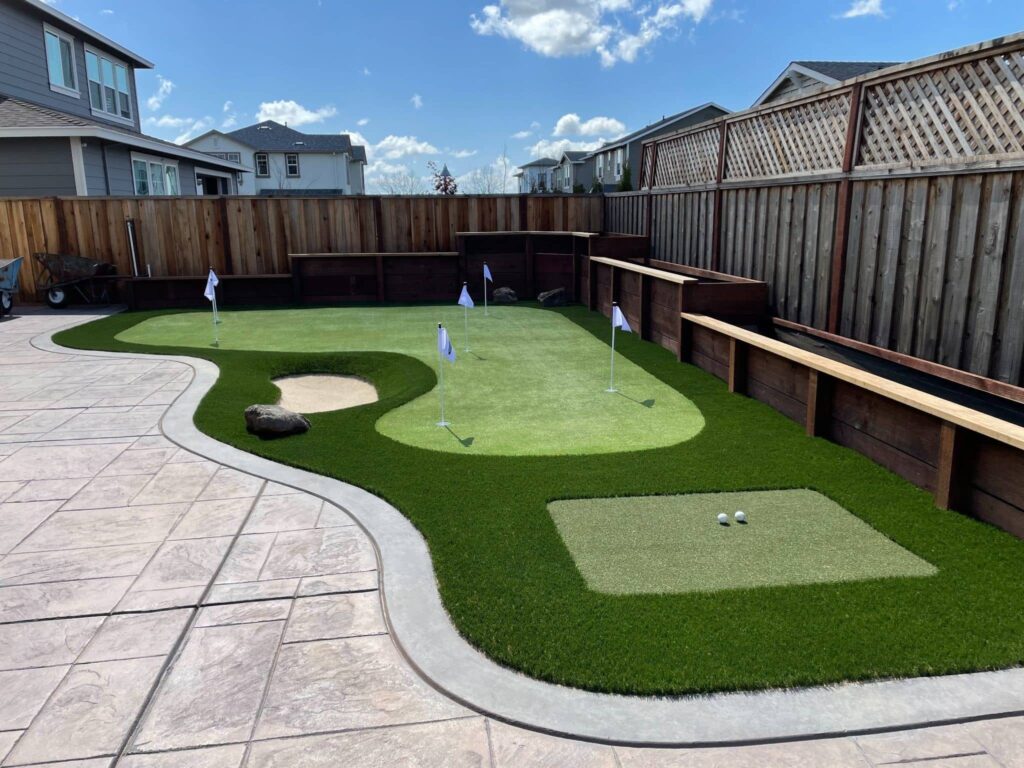
The best putting greens are an invaluable training aid if you want to practice your putting, pitching and chipping skills. Not only that, but they can also help you master distance control, judge green speed and more. That’s why so many golfers are investing in artificial grass installation for their homes.
However, labor costs do take a huge chunk out of the project budget. DIY synthetic turf installation lets you save money and get your dream putting green at the same time.
Is it easy to install a backyard putting green yourself?
It can be, as long as you do the research. Some DIY installers forget that what’s under the golf mats are as important as the putting surface itself.
In the past, we’ve already given you a quick look at how to level the area for a DIY putting green. Now, however, we’re diving deeper into the ground preparation process. In this article, you’ll learn:
- The seven basic steps to preparing the ground for DIY golf putting greens
- The tools you need for each step
- 5 BONUS success tips for DIY installation of golf putting greens
The more you know about how to install a putting green, the more confident you will be going into the project.
How to Prepare the Ground for Backyard Putting Green Installation
You need a realistic putting surface if you want to make serious progress on your short game. A putting experience that feels like playing on a golf course begins at the foundation. Specifically, how you prepare the ground will affect everything from achieving true roll to how your putting stroke breaks.
Follow these basic steps:
1. Mark the exact site where you will install the putting green.
Outlining your installation site will help you narrow down the areas you need to prepare for the best artificial turf installation. Stake rods firmly into the soil and connect them using colored cords or use ground markers.
2. Find and resolve any existing underground hazards.
Pinpointing existing hazards underground is crucial, primarily if your installation site is above critical irrigation lines. For instance, take off unwanted sprinkler heads. Afterward, make sure all the remaining plumbing are working properly before continuing your preparations for the best putting greens. Do the same for any electrical fixture within your project area.
3. Remove all existing vegetation.
Remove plants, weeds and other live organics by hand or using gardening tools. The natural turf should be removed to a depth of 2 inches if you’re going for standard base construction. If you’re doing this by hand, be prepared for a few hours of tilling your soil. Speed up the process by using a shovel, pickaxe and sod cutter.
4. Check the soil condition for drainage capacity.
Take note of the soil’s ability to drain water. This will help you determine the right type of aggregate to use for your putting green. You may need to invest in sand or stone, depending on your findings. Keep the following in mind:
- If the soil conditions inhibit drainage, an extra stone layer subbase is a must.
- If the soil conditions enable free drainage, a standard base construction made of sand is enough.
Need assistance identifying the correct aggregate for your site? We’d love to help, so don’t hesitate to call us at 408-317-4730 if you have any aggregate-related questions.
5. Prepare the installation base.
The stability and integrity of your putting green depends heavily on high quality base installation. First, spread a layer of the right aggregate on your installation area. Then, use a spirit level to ensure even distribution.
6. Compact the area to make sure it’s perfectly level.
Rent a plate compactor or roller compactor for this part of the job. Then, dampen your installation site and pass over it several times until you reach a compaction rate of 90% or above. Make sure there are no bumps or uneven areas.
7. Add your putting green features.
Ground preparation is the time to install weed barriers, cups, break snake and other putting green features. Apart from putting green turf, we also carry the best artificial grass accessories, so feel free to ask us for recommendations.
5 Success Tips for DIY Artificial Putting Greens
1. Make sure you have the correct tools and equipment.
In general, you’ll need the following for a DIY putting green:
- Shovel
- Pick
- Rake
- Tape Measure
- Joining Tape or Adhesive
- Turf Cutter
- Heavy-Duty Scissors
- Spirit Level
- Plate compactor
- Wheelbarrow
2. Invest in the best putting green turf you can find.
Remember— a backyard putting green can last for 10 years or longer. Use low-quality materials and you can expect your putting green to fail after a couple of years, sometimes even earlier.
On the other hand, just because an artificial turf product is expensive, doesn’t automatically mean it’s the best out there. You’ll also need to consider pile height and other factors that will help you achieve the putting surface mechanics you’re looking for.
3. Order a bit more turf than what you need.
There’s always a chance that you’ll run out of synthetic grass for your installation. Whether due to last-minute changes in the design or inaccurate calculations, it happens. Therefore, it’s a good idea to buy a little more artificial turf than what you need.
Don’t worry about wasting the excess, since there are so many DIY artificial turf projects you can use it for.
4. Invest in infill.
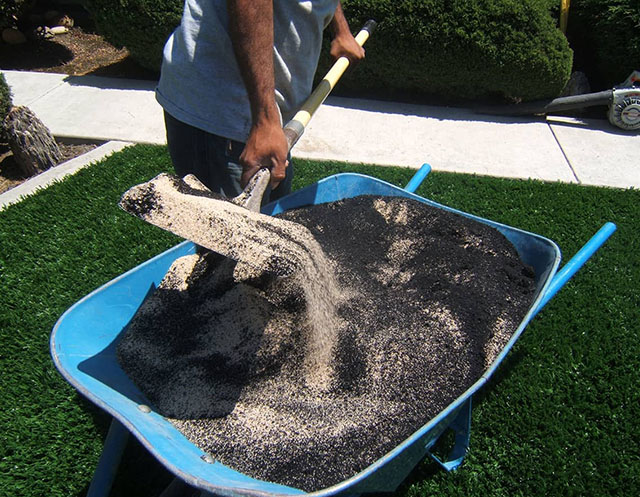
This is crucial, especially if you plan to use your putting green regularly. The infill helps keep artificial turf upright. In addition, it protects the backing system and prevents it from expanding or contracting due to weather changes.
5. Go slow.
Lastly, don’t rush the installation process. Since you don’t have years of installation experience under your belt, it’s easy to make mistakes if you’re not careful. Note that even the smallest errors can cause the entire putting green to fail. It can also saddle you with expensive repairs down the road.
You can make up for your lack of professional experience by being extra meticulous with every part of your putting green.
Artificial Turf Express: The Best Putting Greens and Accessories
Part of successful putting green installation and artificial turf landscaping is using the best possible products for the job. Artificial Turf Express carries everything you need for the perfect backyard golf game, including artificial grass, infill and accessories. We can deliver straight to your door or wherever your project site may be.
Whether you use them for outdoor or indoor putting greens, expect one thing— they’ll feel and look like a real green for your putting and chipping practice. Call us at 408-317-4730 to see how we can help with your project!


